On Chipping Cuties
Since I started chipping (as in implanting microchips), a few beings got curious about some of the details. So here’s a small post with some general information and my experiences so far. Be aware that this post will contain some graphic content and descriptions. As I am also not in the mood for legal trouble, there is an additional disclaimer below (tl;dr — don’t be stupid, you do you).
Disclaimer
The information provided here is for educational and informational purposes only and is not intended as medical advice, diagnosis, or treatment. Biohacking practices may involve significant risks, including but not limited to physical injury, adverse health effects, or long-term complications. Always consult with a qualified healthcare professional. Do not disregard professional medical advice or delay seeking it based on information presented here. Any actions you take based on this information are strictly at your own risk. The author and publisher assume no responsibility or liability for any consequences resulting from the use or misuse of the content provided. By engaging with this material, you acknowledge and accept full responsibility for your health decisions.
The following sections contain more information on vendors, chips, spots, and the general process. I may update them every now and then.
Why Chip?
Why not? It’s a stupid question. Why get a tattoo? It’s very individual, some might just like the functionality the chip has, some want it for kink reasons, others just think it’s cool. And while not everyone is eager to stab a needle into themselves, I don’t mind it, and thus happily help with chipping.
Vendors and Chips
The first step is to decide on a chip.
As far as I am aware the main suppliers are:
All of those vendors have quite extensive documentation on the details and possible applications of chips they are offering. For friends living in Germany, I am ROBOT is a good choice since they offer local shipping for reasonable prices and have partner piercers in Germany.
Thermochip Mini
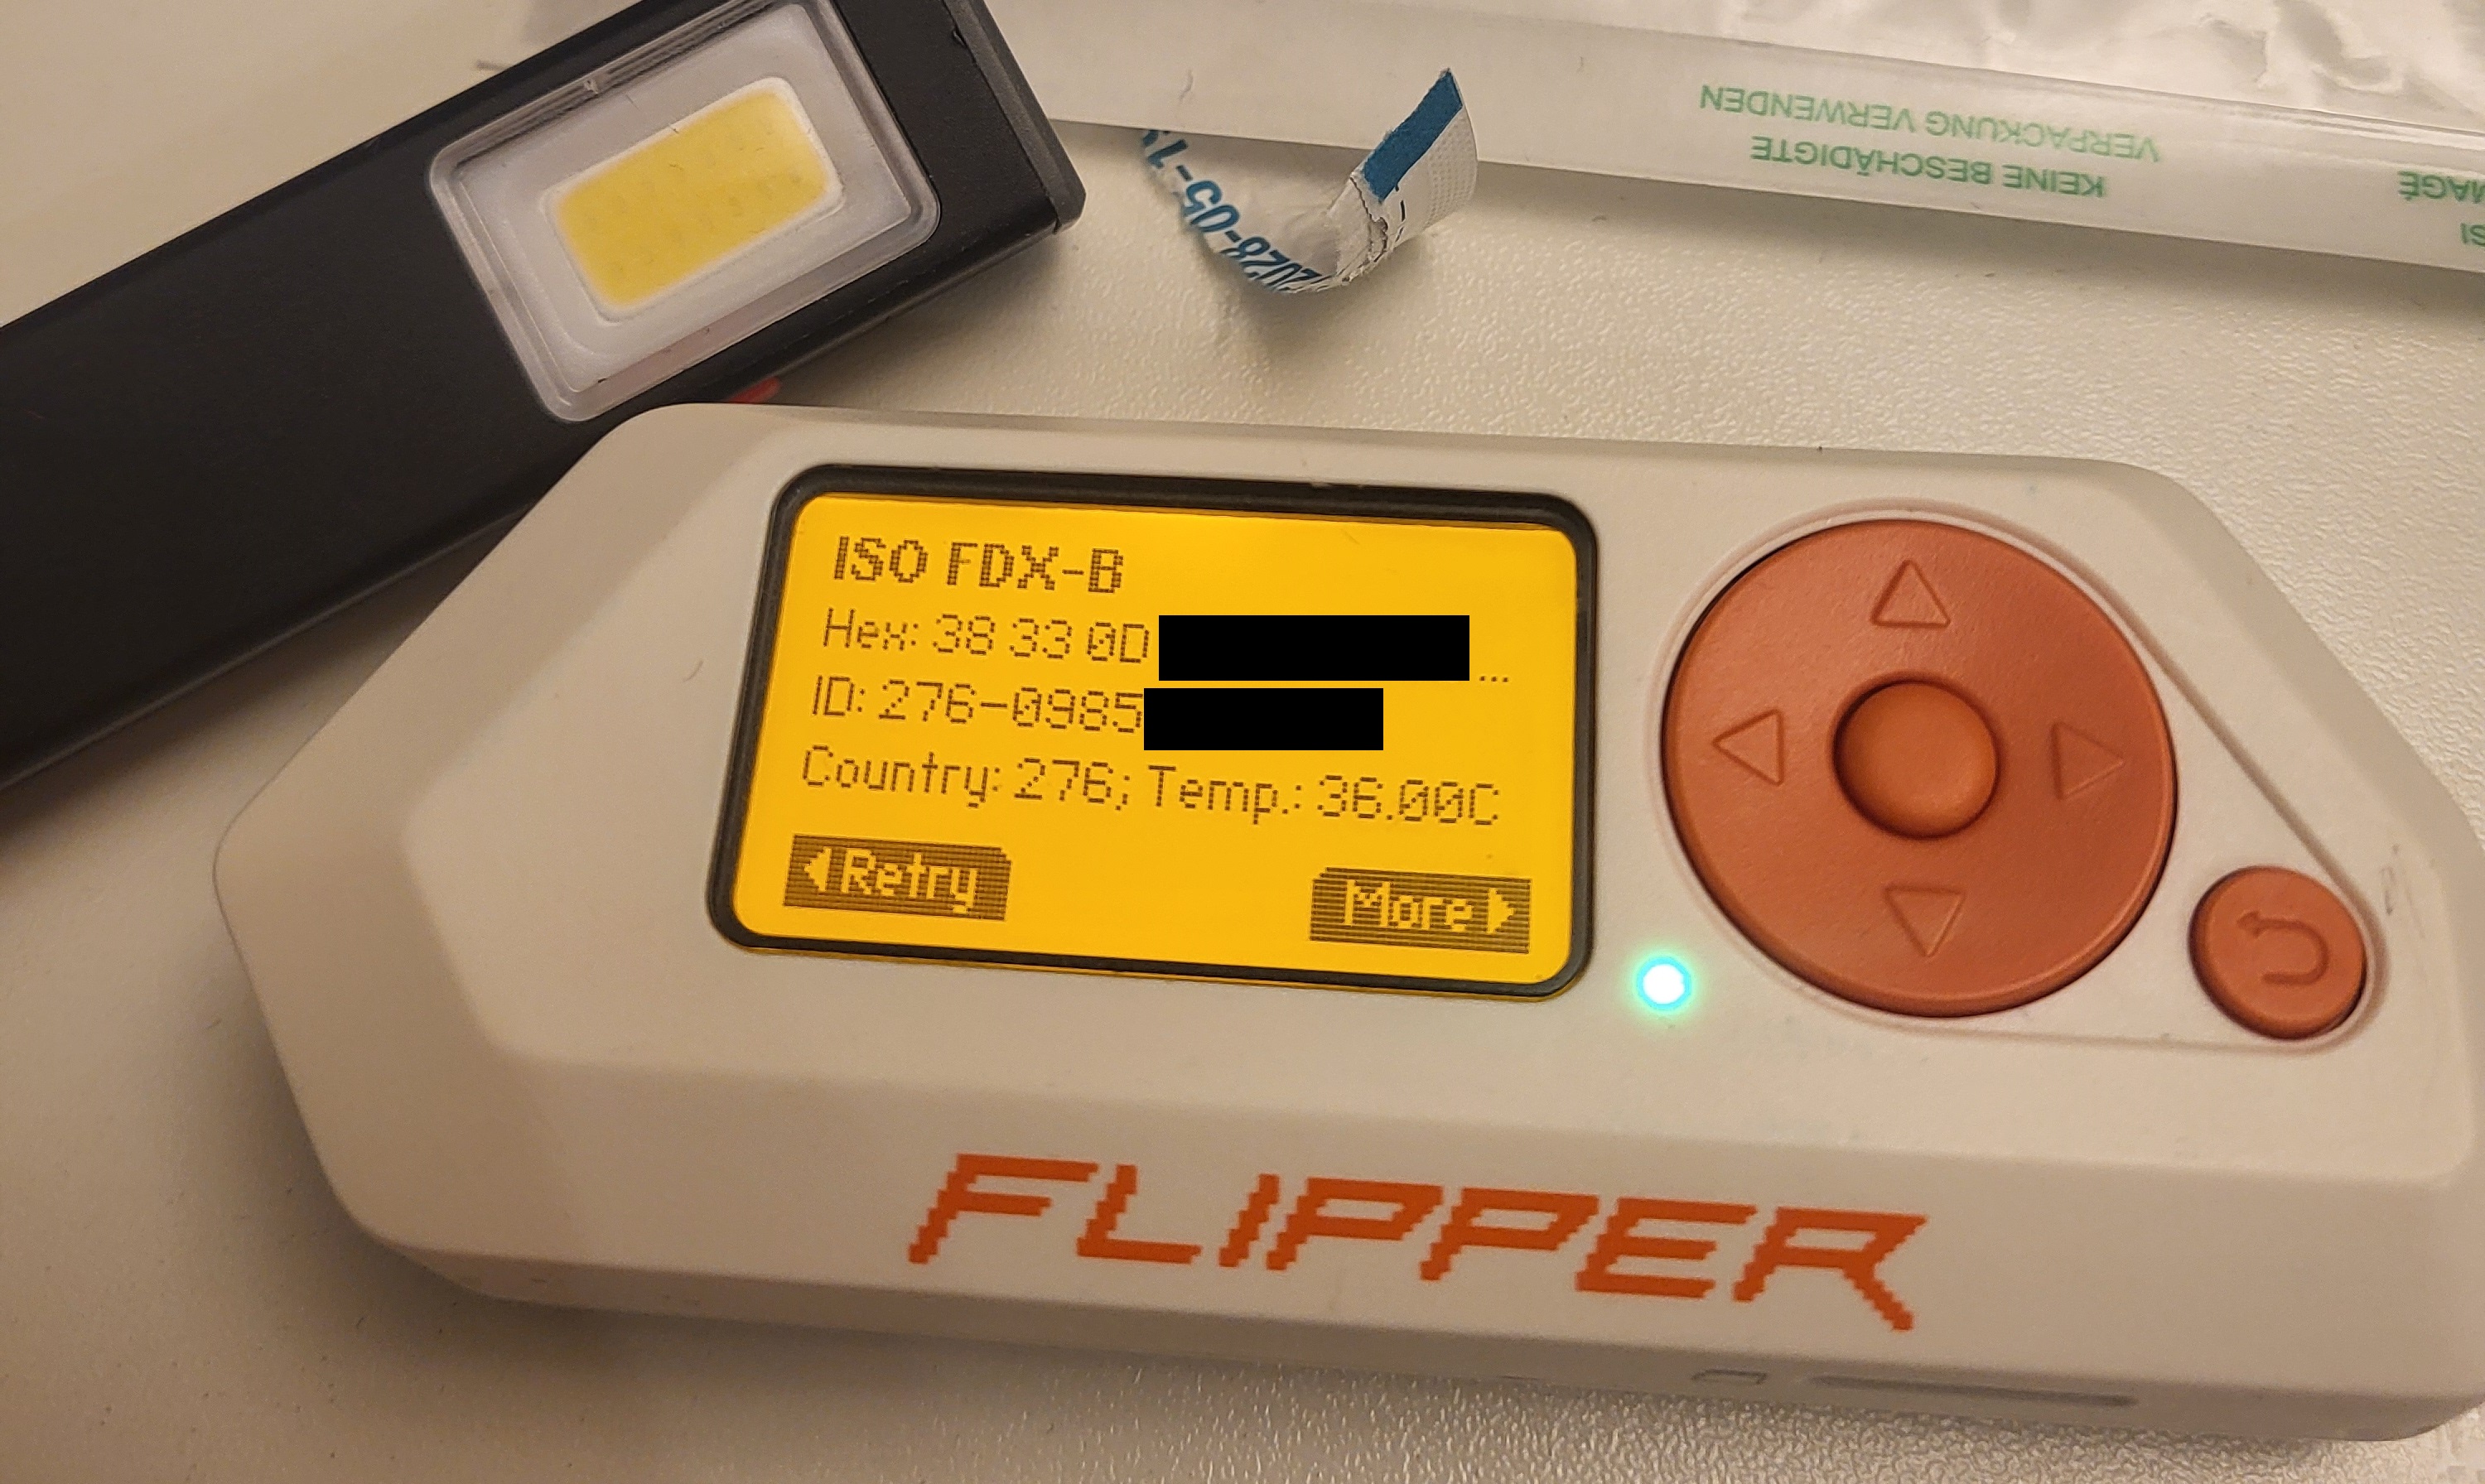
Besides the mentioned vendors there are also various shops offering the Thermochip Mini which is primarily used for pets and cannot be read using a regular phone as it uses ISO 11785/FDX-B. The Thermochip Mini can be read using, for example, a Flipper Zero or any other reader that supports those standards.
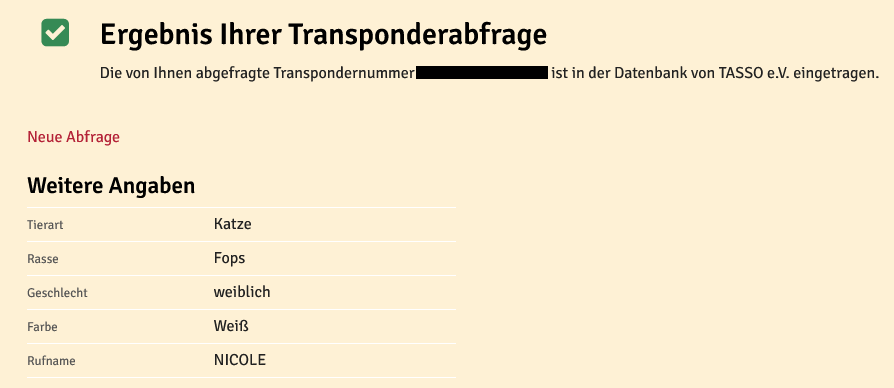
It is an interesting chip since it is fairly cheap (below €15 per chip, usually a pack of 10) and is able to read body temperature. Additionally, it can be registered with pet databases such as TASSO since it has the required ID in the required format.
My Chips and Spots
For myself I chose the Thermochip Mini and the NFC Implantat X2.
Thermochip Mini
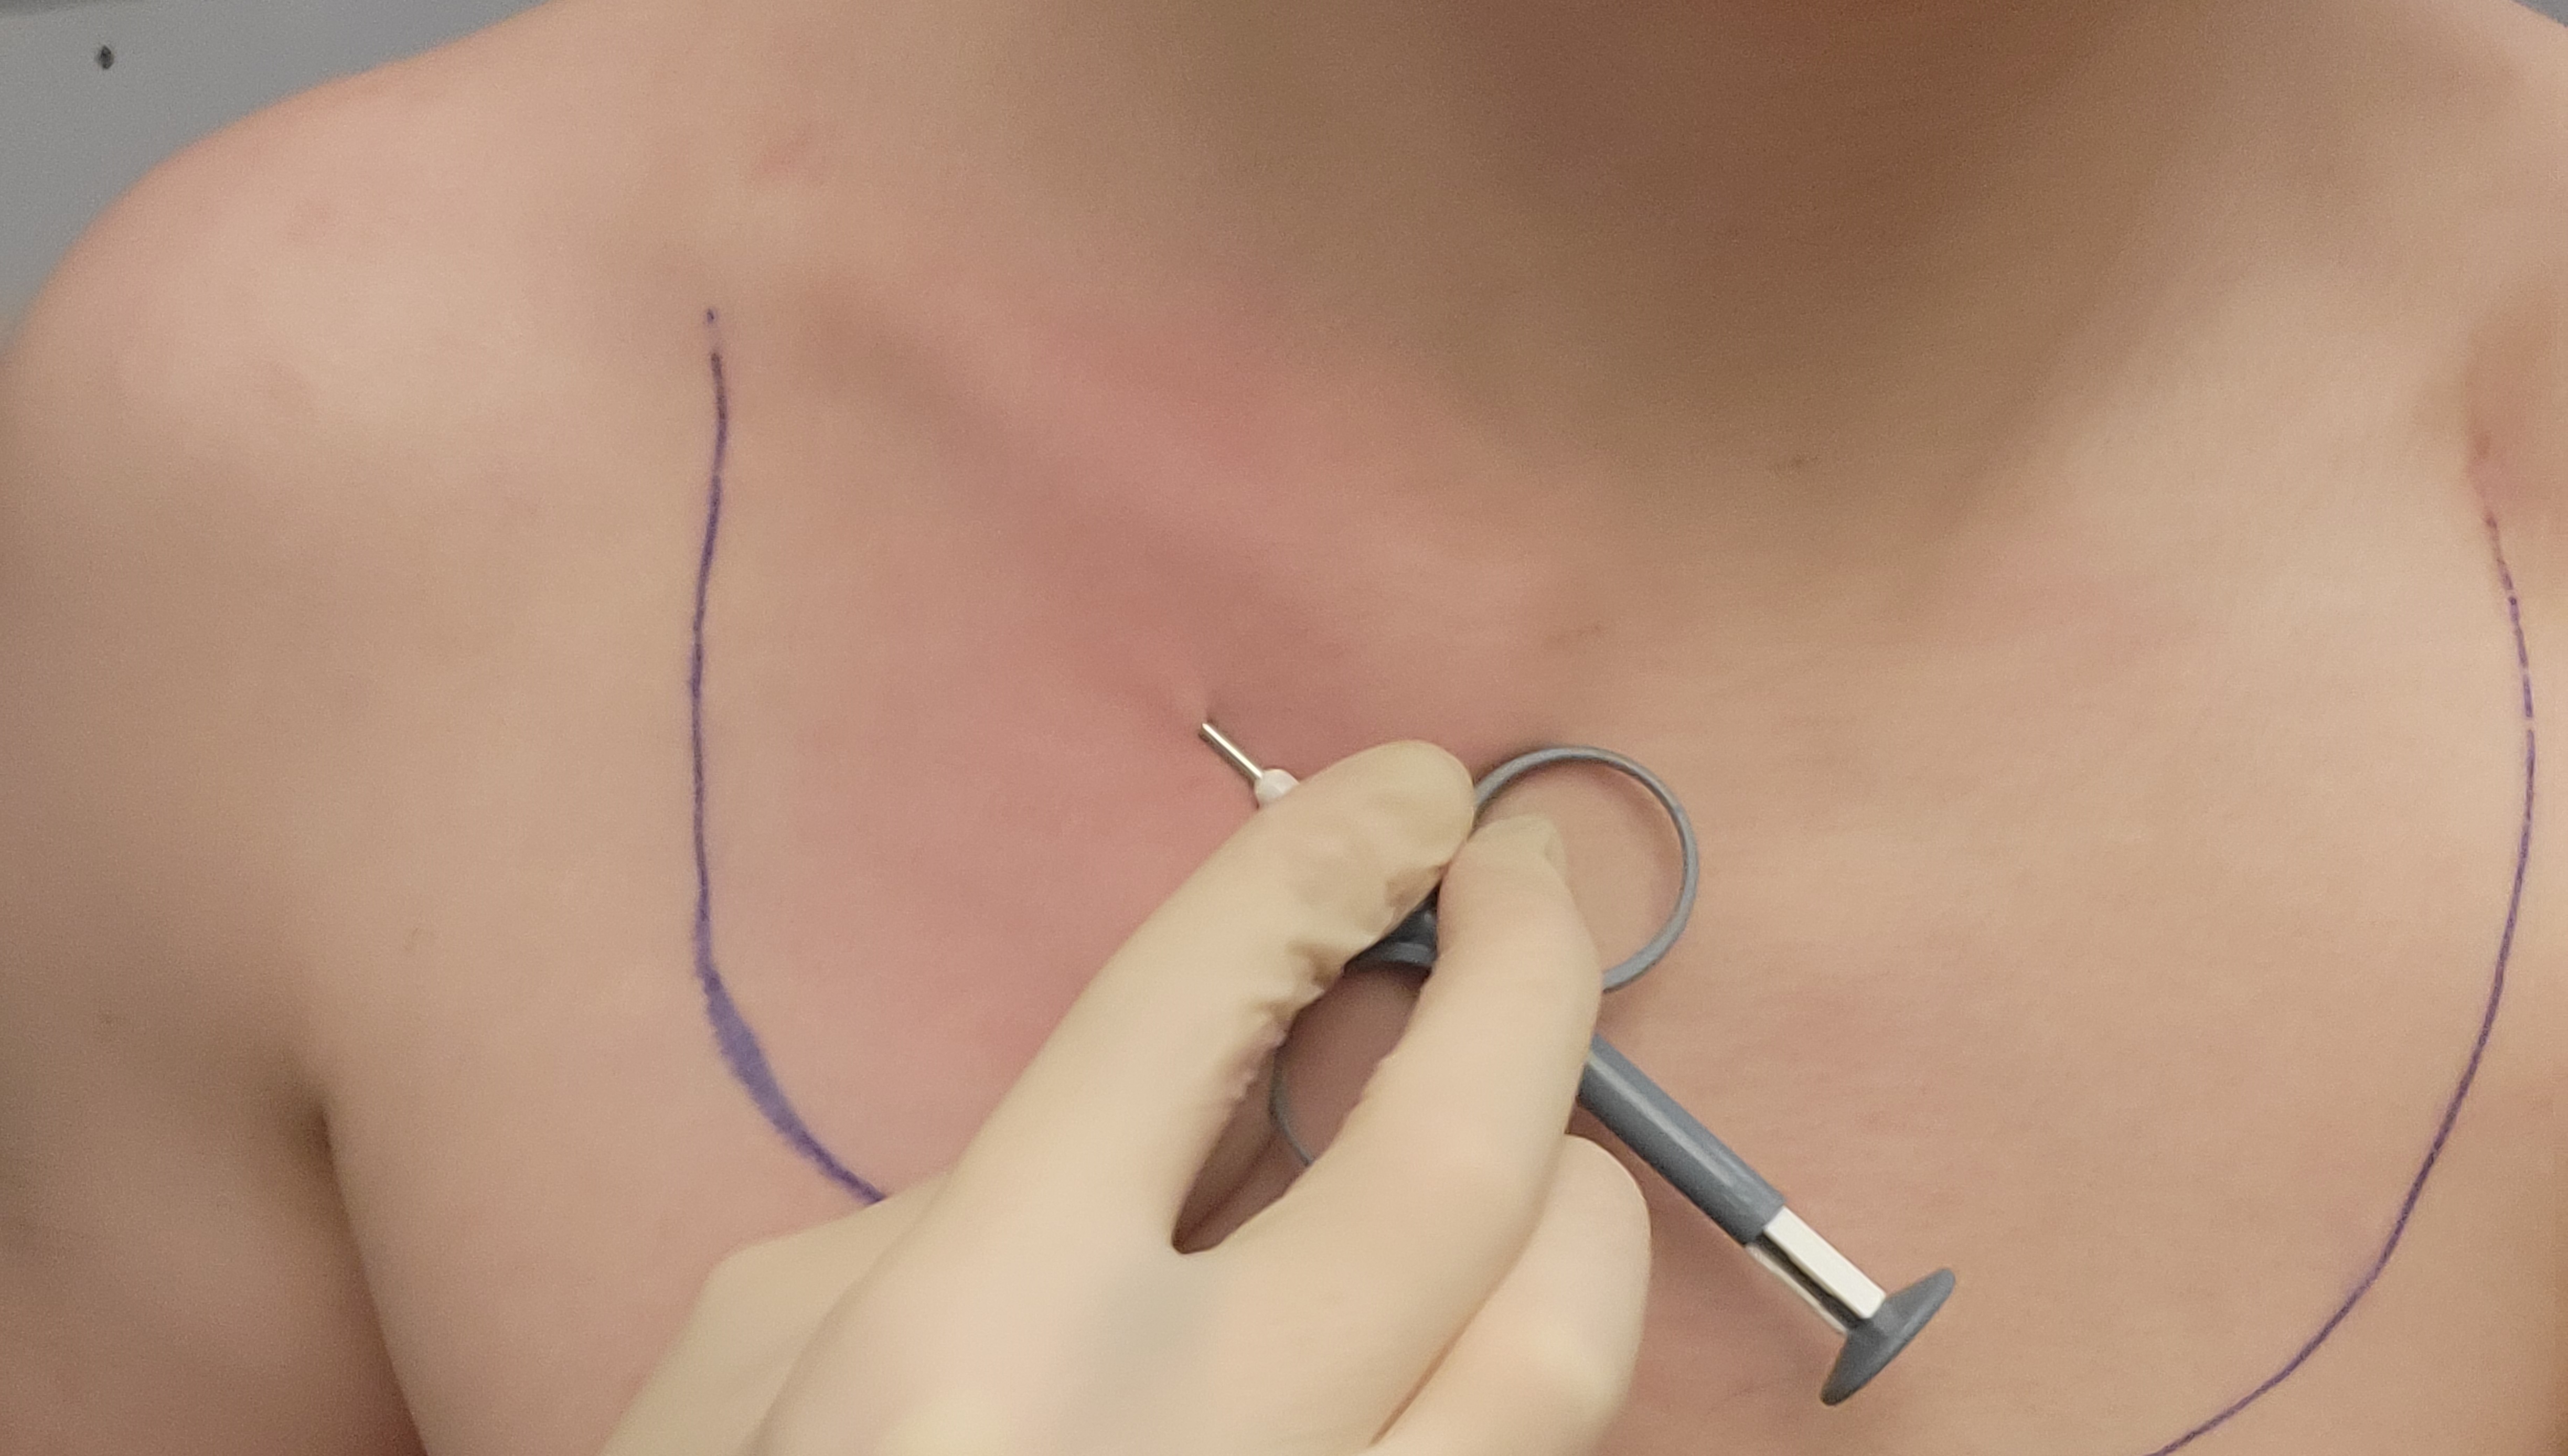
As far as I am aware, the Thermochip Mini is the cheapest chip offering body temperature measurements. Additionally, I liked the idea of registering it in a pet database. After looking up the human body temperature range, it became clear that a spot in the core area would be suitable. Usually the temperature is best measured internally, but I wanted the chip accessible and in a spot where I can show it to others and where others can easily scan it. Thus I decided to implant it below the collarbone.
NFC Implantat X2
The NFC Implantat X2 is fairly cheap (€50) and can be accessed using a phone with NFC functionality. This means that I can use it for events or kink purposes by storing my contacts, a link to a website, or text (e.g. reviews or consent) on it, allowing others to hold their phone to it to read it. I also like the idea of carrying around texts from friends or poems that are currently important to me. A simple app, such as NFC Tools is enough to write to it. Since I wanted others to be able to easily scan it, the hand seemed like a good choice. Also it is well documented how to implant chips in that area, I chose the triangular tissue between the first metacarpal bones of the thumb and index finger.
Implanting Chips
Implanting chips is fairly easy.
General Process
Since most chips come preloaded into a syringe, they don’t require a lot of effort to implant. However, there are some basic hygiene considerations.
Tie back long hair and put on a surgical mask. After that, properly clean arms and hands and put on sterile gloves. Next, clean the chipping area using suitable wipes and disinfectant by wiping multiple times in the same direction. A local anaesthetic is usually not necessary, the chipping is not that painful.
I am ROBOT also offers an implant guide. So does Upgraded Humans on their website; they also have two videos showing the insertion and removal, as well as partner piercers that offer implants. Another good resource is this post from the Dangerous Things Forum which also offers general advice on the whole process, including graphics and references on various locations for implants.
Usually the spot for chipping is pinched with the one hand (or clamp) and the syringe is inserted on the short end of the resulting skin fold. Once the syringe is in place, it is slowly pulled out while pressing down on it to insert the chip (don’t forget to remove the safety first).
To speed up healing and prevent scars, I found hydrogel plasters to work quite well. I also use them for glowing scars aka glowscars.
Collarbone
Chipping this spot worked well though I did not find much documentation about it. After pinching the skin with one hand, I was able to use my other hand to insert the syringe and implant the chip. The line drawn is what I used as reference to see which spots are visible when wearing my sports bra.
It healed quite fast and scanning it works quite well as I can use my collarbone for orientation. During the day I do not notice the chip at all, only when I touch it.
Hand
Chipping my own hand was a bit more tricky since I had only one hand to work with. I had the choice between using a clip or asking a friend for assistance, and since a friend was coming over later anyway, I asked her to squeeze the spot for me. Regarding pain, the spot was a little bit more painful than the spot below the collarbone but not that painful. Listening to some music also makes it easier.
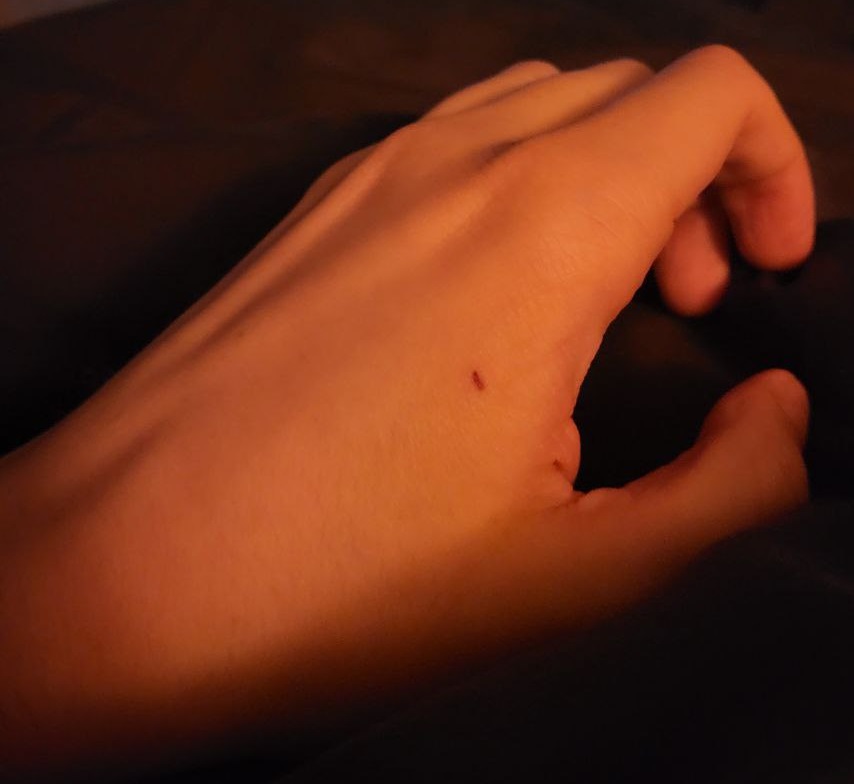
This spot also healed quite well and within a few days I did not even notice the chip anymore. Scanning it and editing the data using NFC Tools (mentioned previously) also worked like a charm. Usually I set a password afterwards so others can’t edit the data.
Removing Chips
I applied to a few companies for a new job and since some of them are quite serious on physical security as well, I decided it would be best to remove the chip that allows writing to it in advance and to reimplant it once I made sure that I can keep it for whatever company I end up working.
Removing the chip was fairly easy too and also didn’t require a local anaesthetic. The clean way would obviously consist of using a suitable sterile scalpel to make a small incision and then push out the chip.
However, I only had one hand to work with and was lacking the proper materials when I thought that removing it before attending the interview was a good idea, so I improvised and did it quick and dirty. After making a small incision using a properly prepared razor blade, I tried to push the chip out. However, this seemed to not work properly using only one hand, so I used a pair of properly prepared tweezers to lift the chip up a bit and guide it towards the incision. Once part of it was out, pushing out the rest was fairly easy too.
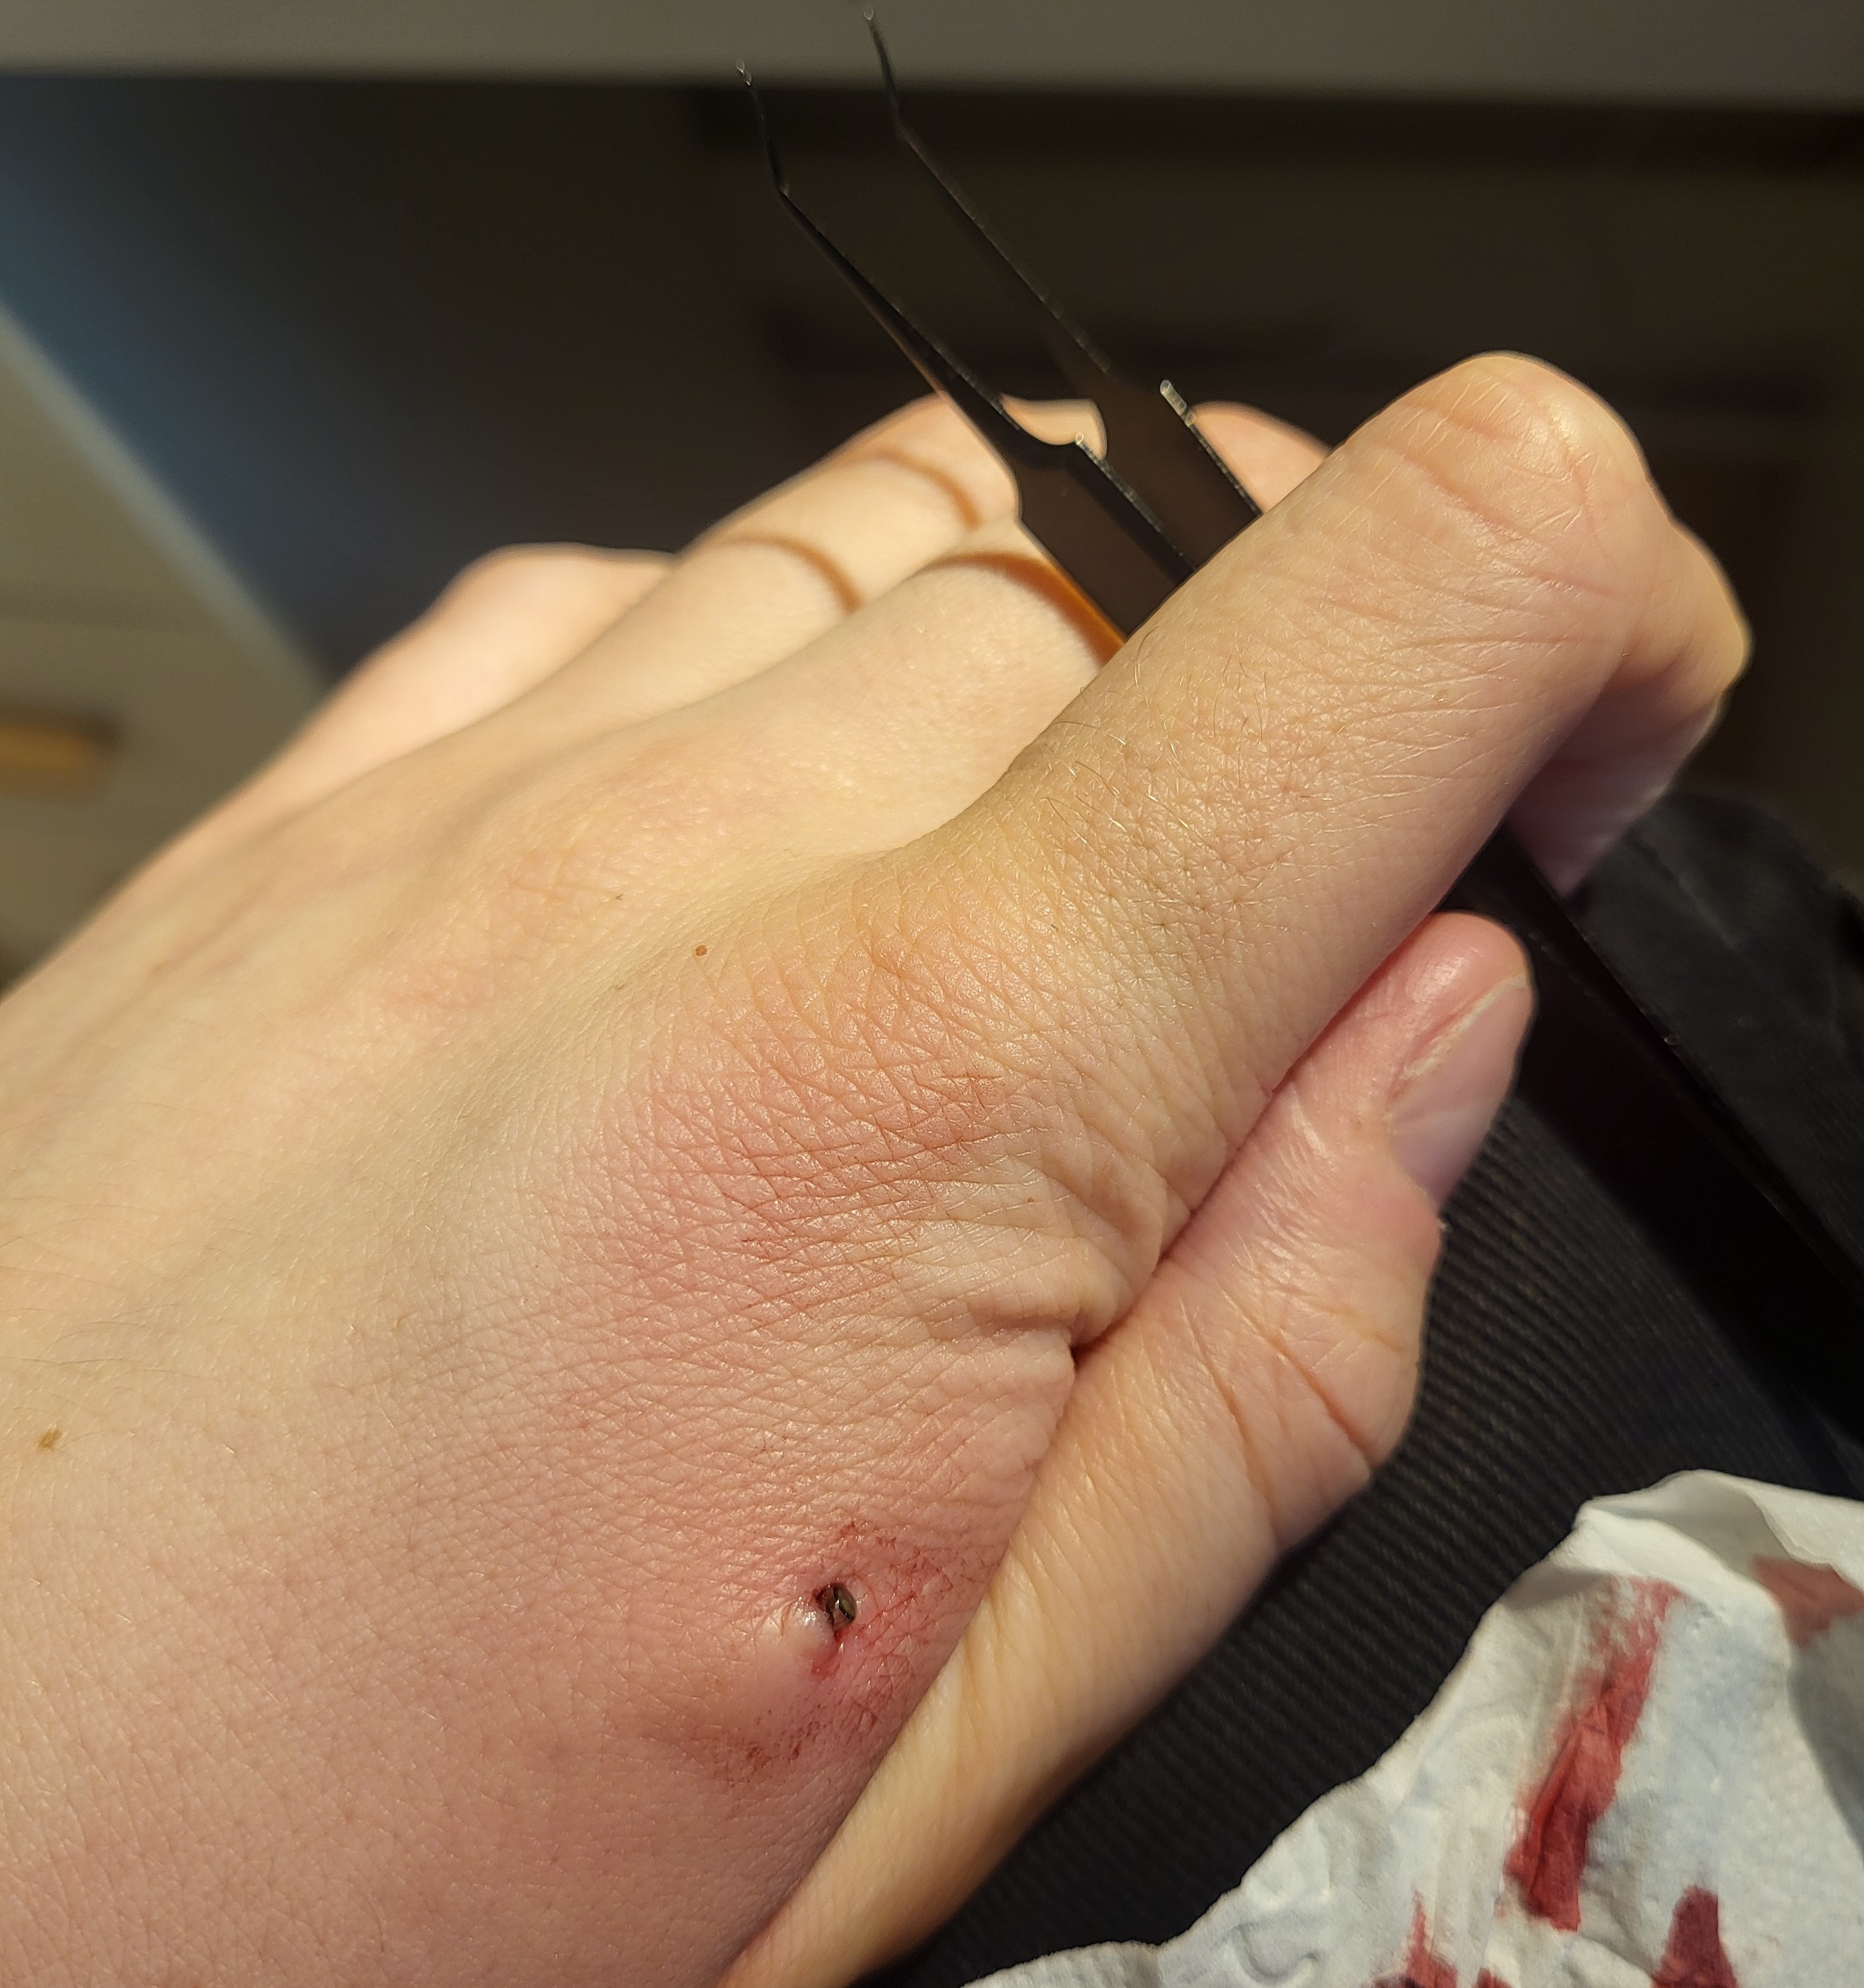
By now it is fully healed and I don’t notice anything anymore, however doing it properly is the better idea. Doing it like this on myself is something I did not mind, on others I’d never do it like this.
Additional Resources
- The Dangerous Things Forum is probably one of the best resources I found so far. A place to discuss biohacking, projects, and technology
- Biohackers Digital is a global community dedicated to exploring biohacking and human-augmentation technologies in a responsible, ethical manner